RC Dumpster
Would you like to react to this message? Create an account in a few clicks or log in to continue.

RC Dumpster

The one place for us to discuss, compare, and share, our RC experiance.
 
HomePortalLatest imagesRegisterLog in
OK all going to get this going again, lets have some fun and post away, thanks for joining.


 Wheely King shaft upgrade Walkthrough

Go down 
AuthorMessage
Admin
zueslilbuddy
zueslilbuddy
Admin


Posts : 747
Points : 382
Join date : 2008-09-09
Age : 59
Location : Maine

Wheely King shaft upgrade Walkthrough Empty
PostSubject: Wheely King shaft upgrade Walkthrough   Wheely King shaft upgrade Walkthrough Icon_minitimeSun Nov 02, 2008 9:56 am

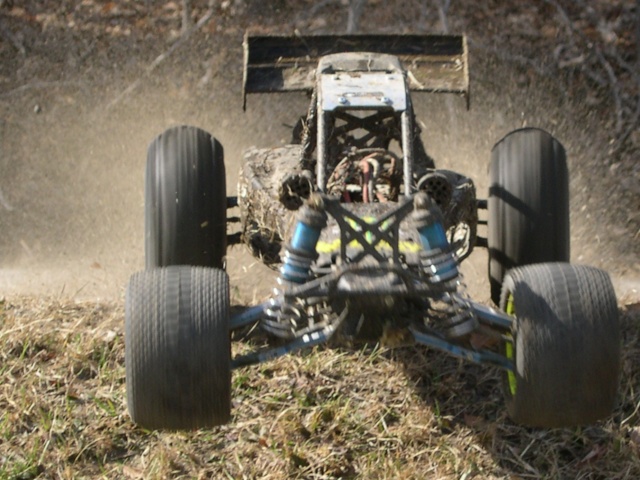
Ok I guess you might have noticed I got a new camera lol
On To The WK Shaft Upgrade
Ok with Brushless power comes Brushless problems.
You'll need Traxxas parts 2 EA. of part #4928x and 1EA. of part #4951x
got mine on ebay cost around $18.00 shipped
First we need to take out the old shafts.
First remove the ''c'' clip from the lower suspension link on one side and remove the pin.
Wheely King shaft upgrade Walkthrough DSCN2453
Wheely King shaft upgrade Walkthrough DSCN2454
I used a xacto blade in the pic to do this but found a tiny screwdriver to work better.
Next remove the set screw pins from the shafts.
Wheely King shaft upgrade Walkthrough DSCN2450
(ok so pic was of totaled shaft but you get the idea lol)
Now that you have removed suspension link pins, and shaft set screw pins you can spread out the front/rear end and pretty much drop out the old shaft.
Wheely King shaft upgrade Walkthrough DSCN2455
OK theres how to take out the old ones.
Now to make the new ones.
First to put together out maxx shafts.
Its a pain in the butt, but has to be done.
they are just soo much stronger you'l see the differance quickly
Wheely King shaft upgrade Walkthrough DSCN2452
After you've assembled your shafts it time to cut them to legnth.
I measure mine out against the old ones and cut just a wisker shorter.
The new ones are the bottom ones.
Wheely King shaft upgrade Walkthrough DSCN2457
I used a small tubing cutter but can do it many ways.
Wheely King shaft upgrade Walkthrough DSCN2459
The newly made shafts on the bottom
Wheely King shaft upgrade Walkthrough DSCN2458
Now thats done all thats left is to reinstall tham and your done.
Wheely King shaft upgrade Walkthrough DSCN2461
Wheely King shaft upgrade Walkthrough DSCN2462
Wheely King shaft upgrade Walkthrough DSCN2463
With this and the tranny gear walkthrough your ready for BL power untill your F/r end diffs need an up grade.
But I'll be doing the free upgrade soon thats a big help.
Back to top Go down
https://smashing-rc-dumpster.forumotion.net
 
Wheely King shaft upgrade Walkthrough
Back to top 
Page 1 of 1
 Similar topics
-
» Wheely King F/R End Walkthrough
» Wheely King Tranny Gear Change Walkthrough
» My Mambafied Wheely King
» Wheely King On Steriods W/Video's
» Radio shack snomobile upgrade.

Permissions in this forum:You cannot reply to topics in this forum
RC Dumpster :: Member Made Projects :: Tips Tricks, Tutorials -n- How Too's-
Jump to: